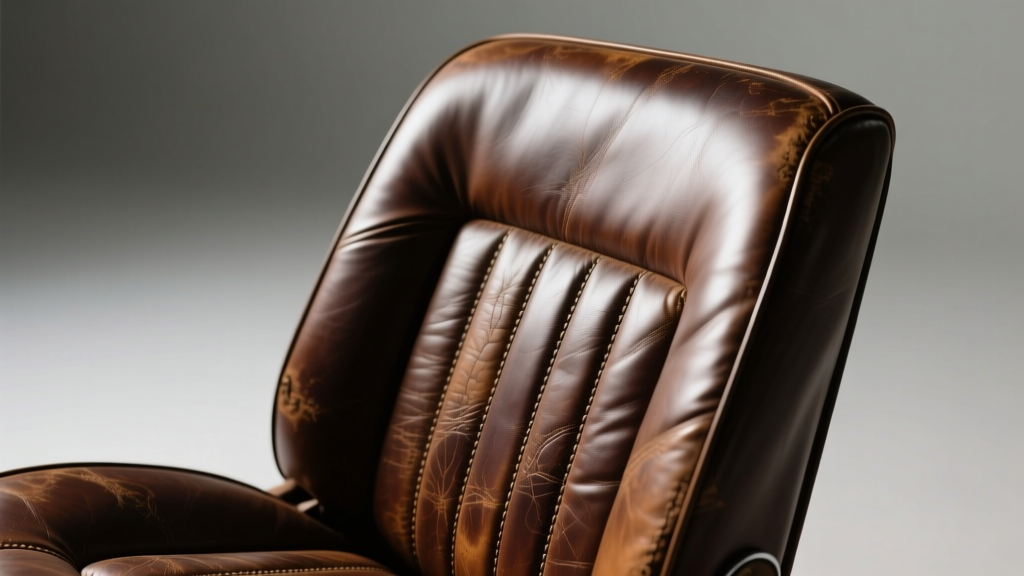
Leather Seat Restoration: Car Interior Mix (2026)
Leather seats can make a cabin feel premium for years?until daily use starts showing up as shine, discoloration, cracks, bolsters worn thin, and dye rubbed off where you slide in and out. The good news: most ?beat-up? leather isn?t beyond saving. With the right approach, you can restore color, soften the feel, and protect it so it stays looking factory-fresh longer.
This second part of our leather seat restoration guide focuses on the deeper end of the process: fixing cracks, filling gouges, re-dyeing worn areas, and applying long-lasting protection. If Part 1 covered cleaning and prepping basics, think of Part 2 as the step where your seats actually start looking new again?especially on high-wear spots like driver bolsters and seat bottoms.
Whether you?re refreshing a daily driver, bringing a weekend car back to life, or prepping a vehicle for sale, the techniques below will help you get professional-looking results without paying full upholstery shop pricing.
Before You Start: Identify Your Leather Type and Damage Level
Coated (Pigmented) Leather vs. Semi-Aniline vs. Aniline
Most modern cars use coated/pigmented leather. It has a protective topcoat and color layer that can be repaired and re-dyed reliably. Semi-aniline is slightly more natural but still has a protective layer. Full aniline is less common in mainstream vehicles and stains more easily.
- Coated/pigmented leather: Best candidate for restoration, fillers, and recoloring.
- Semi-aniline: Repairable, but color matching may require extra care.
- Aniline: Repairs can be tricky; spot recoloring may look obvious.
Quick Damage Assessment Checklist
- Shine and slickness: Usually body oils and worn topcoat.
- Color wear/fading: Dye/topcoat abraded, especially on bolsters.
- Hairline cracks: Often in the coating, not through the hide.
- Deep cracks and splits: May require reinforcement or professional help.
- Loose, wrinkled areas: Normal wear; can be improved but not ?erased.?
Real-world example: A common scenario is a black driver bolster that?s turned gray and glossy. That?s typically worn topcoat plus embedded oils. With proper degreasing, light sanding, and a matched leather colorant, you can bring it back to a satin OEM finish.
Tools and Products That Make Restoration Easier
You can do a lot with basic supplies, but the right products dramatically improve durability and appearance. Here are practical categories to consider.
Core Supplies
- pH-balanced leather cleaner
- Leather prep/degreaser (often called ?Leather Prep? or ?Alcohol Cleaner?)
- Microfiber towels (lint-free)
- Soft leather brush
- Fine sandpaper (600?1000 grit) or gray scuff pad
- Leather filler (for cracks/gouges)
- Leather colorant/dye matched to your interior
- Topcoat/sealer (matte/satin/gloss to match OEM)
- Applicators: sponge, foam pad, or small airbrush (optional but excellent)
Product Recommendations and Comparisons
Availability varies, but these brands are widely used by detailers and DIY restorers:
- Leatherique (Rejuvenator Oil + Prestine Clean): Great for softening and deep cleaning older leather; better for conditioning and revival than for recoloring.
- Colourlock kits: Strong all-in-one approach (cleaner, prep, filler, colorant, sealers). Excellent instructions, consistent results.
- Furniture Clinic leather repair kits: Popular for fillers and colorants; good DIY-friendly options and a wide color range.
Which should you choose?
- If your seats are dry, stiff, and older: Leatherique first, then proceed to repairs and recoloring.
- If your seats have visible wear and cracks: Colourlock or Furniture Clinic-style repair kits tend to be more direct.
- If you want the most OEM-looking finish: prioritize a matched colorant plus a proper topcoat in the correct sheen (usually satin).
Step-by-Step: Repairing Cracks, Scuffs, and Worn Color
Step 1: Deep Clean and Remove Oils (Don?t Skip This)
Leather restoration fails most often because colorant doesn?t bond to an oily surface. Focus on high-contact zones: bolsters, seat base front edge, steering wheel, and armrests.
- Vacuum thoroughly to remove grit that can scratch during scrubbing.
- Clean with a pH-balanced leather cleaner and a soft brush; wipe dry.
- Apply leather prep/degreaser on a microfiber towel and wipe the worn area repeatedly.
- Keep wiping until the towel stops picking up grime and the surface feels ?squeaky? rather than slick.
- Tip: Work in small sections. Degreaser evaporates quickly and is most effective with repeated passes.
- Temperature tip: A warm cabin (not hot) helps oils lift. Avoid direct sun that can flash-dry products too fast.
Step 2: Light Sanding to Level the Surface
Sanding sounds aggressive, but with the right grit it?s controlled and safe for coated leather. You?re leveling the damaged topcoat and smoothing crack edges so repairs blend.
- Use 600?1000 grit sandpaper (start finer if you?re nervous).
- Sand lightly over cracks/scuffs until the edges feel smoother to the touch.
- Wipe away dust with a clean microfiber and a small amount of prep/degreaser.
- Goal: Smooth transitions. You?re not trying to remove all color?just knock down roughness.
- Watch for: If color starts coming off heavily, stop and reassess. You may be through the topcoat, which is okay, but don?t overdo it.
Step 3: Apply Leather Filler for Cracks and Gouges
Filler is best for small cracks, scratches, and minor gouges. If leather is torn through or seams are split, that?s usually beyond filler-only repair.
- Using a palette knife or flexible spreader, apply a thin layer of leather filler over cracks.
- Feather the edges so it transitions smoothly into surrounding leather.
- Let it dry fully (follow product instructions). A hair dryer on low can speed this up.
- Sand lightly with 1000 grit to level, then wipe clean.
- Repeat thin layers as needed. Two to four light layers beat one thick layer every time.
- Pro tip: If the cracks are mostly in the coating, you may only need a skim coat?or none at all?before recoloring.
- Texture tip: Some kits include a graining pad. Use it while filler is tacky to mimic OEM texture on smoother areas.
Step 4: Recoloring (Leather Dye/Colorant) for a Factory-Like Finish
This is the step that transforms the seat visually. The secret is thin coats and proper drying, not heavy coverage.
- Mask off plastic trim, stitching you don?t want colored, and adjacent panels with painter?s tape.
- Test colorant in a hidden area first (under the seat edge or rear panel).
- Apply the colorant in thin layers using a sponge or foam applicator. Dab rather than wipe to avoid streaks.
- Allow each coat to dry before applying the next. Use gentle heat if recommended by the product.
- Build coverage slowly until the repair disappears and the color matches surrounding panels.
- Airbrush advantage: If you can, an inexpensive airbrush delivers the most even finish, especially on large bolsters.
- Blend tip: Don?t stop exactly at the damaged spot?fade color slightly beyond it to prevent a ?patch? look.
Step 5: Apply the Topcoat/Sealer (Where Durability Comes From)
Colorant alone can wear quickly if it isn?t sealed. A proper topcoat restores the correct sheen (usually satin) and adds abrasion resistance.
- Select the sheen that matches your interior: matte, satin, or gloss. Most OEM leather is satin.
- Apply thin coats (sponge or airbrush) and let dry between layers.
- Allow the final coat to cure. Avoid heavy use for at least 24?48 hours if possible.
- Durability tip: High-wear areas like the driver bolster benefit from an extra coat of topcoat.
- Feel tip: If the seat feels tacky after drying, curing time may be incomplete or coats may be too thick.
Restoring the Feel: Conditioning Without Making Seats Slippery
After repairs cure, light conditioning can improve suppleness?especially on older leather. The mistake is over-conditioning, which can attract dirt and cause premature wear.
- Use a non-greasy leather conditioner designed for automotive coated leather.
- Apply sparingly to a microfiber applicator, not directly onto the seat.
- Buff off excess so the surface feels clean and dry, not oily.
Example: If your seat bottom feels stiff after a recolor and topcoat, wait until the sealer fully cures, then apply a small amount of conditioner. You?re aiming for ?soft and grippy,? not shiny or slick.
Common Mistakes to Avoid (These Cause 90% of Bad Results)
- Skipping degreasing: Colorant won?t bond and will rub off onto clothing.
- Applying thick coats: Leads to streaks, texture loss, and peeling later.
- Using the wrong sheen: A glossy topcoat on a satin interior will look obviously repaired.
- Over-sanding: You can remove too much coating and create low spots that are harder to blend.
- Not allowing cure time: Seats may look ?done? but still be soft underneath; early use can imprint or scuff.
- Ignoring the root cause: If you keep dragging jeans rivets over the same bolster, it will wear again fast?consider adjusting entry habits or adding protection.
How Long Will a Leather Seat Restoration Last?
Longevity depends on prep quality, products used, and how the car is used. A well-prepped recolor and topcoat on a daily driver bolster can last 1?3 years before noticeable wear returns, and often longer with gentle use and maintenance.
- Best-case scenario: Weekend car, garaged, regular cleaning?several years.
- Average daily driver: 12?36 months for high-wear zones before a light touch-up.
- Heavy use (rideshare/work truck): Expect more frequent touch-ups, but the process is faster once you?ve done it once.
Maintenance Plan After Restoration (Simple and Effective)
- Weekly/biweekly: Wipe seats with a damp microfiber to remove body oils before they build up.
- Monthly: Clean with a gentle leather cleaner (especially bolsters and armrests).
- Every 3?6 months: Apply a light conditioner or leather protectant compatible with coated leather.
- Yearly: Inspect high-wear zones; do small touch-ups before cracks deepen.
FAQ: Leather Seat Restoration
Can I restore leather seats that are cracked all over?
If the cracks are mostly in the topcoat (common on older coated leather), yes?cleaning, light sanding, filler, and recoloring can dramatically improve it. If the leather is splitting through the hide or the foam underneath is collapsing, you may need upholstery work or panel replacement for a lasting fix.
What?s the difference between leather dye and leather paint?
Most automotive ?leather dye? products are actually water-based leather colorants designed to bond to coated leather. They behave more like a flexible coating than a penetrating dye. The key is using a compatible prep and topcoat so the finish stays flexible and durable.
Will restored leather stain my clothes?
It shouldn?t?if prep was thorough and the colorant/topcoat cured fully. Transfer typically happens when oils were left on the surface, coats were applied too thick, or cure time was rushed.
Do I need an airbrush to get good results?
No, but it helps. A sponge application works well for small areas and touch-ups. An airbrush is worth considering for large bolsters or seat backs because it produces a more uniform finish and better blending.
How do I match the leather color correctly?
Start with your interior color code (often on a door jamb sticker or build sheet) and use a supplier that offers OEM matching. If your seats have faded, consider matching to a less-worn area (like the rear seat or under a trim flap) rather than the most exposed driver bolster.
Can I use household cleaners like alcohol or acetone?
A dedicated leather prep/degreaser is safer. Strong solvents can soften or damage factory coatings and create adhesion problems later. If a kit calls for an alcohol-based prep, use it as directed?don?t substitute harsh chemicals.
Next Steps: Your Best Path to Better-Looking Leather
If your seats are just shiny and slightly discolored, focus on deep cleaning, degreasing, and a proper protectant. If you?re dealing with visible wear on the driver bolster, plan a weekend project: prep, light sanding, thin filler layers, matched colorant, then a satin topcoat. Take your time with drying and curing, and you?ll get results that look far more ?factory? than ?DIY.?
For more step-by-step interior care and restoration articles, explore the rest of our guides on carinteriormix.com.